If you can craft, you can make custom LED Assemblies.
While the possibilities are endless, here are some basics to make sure you are successful with adding some light to your next project.
1. The DC Voltage from a 9 volt battery is not dangerous. You will not get shocked or need to be worried about working with the voltage from this small of a battery. That being said, batteries have a positive (red) and a negative (black). Make sure you always connect red wires to red wires and black wires to black wires. If you do accidently cross wires you could burn out the leds and / or directly short out the battery. Directly shorting the battery could cause it to heat up and burn out. This could cause a problem, especially if the install is in a costume, because it could potentially cause a fire etc... So pay attention, red to red, black to black. Test all your assemblies before they get installed into their final location.
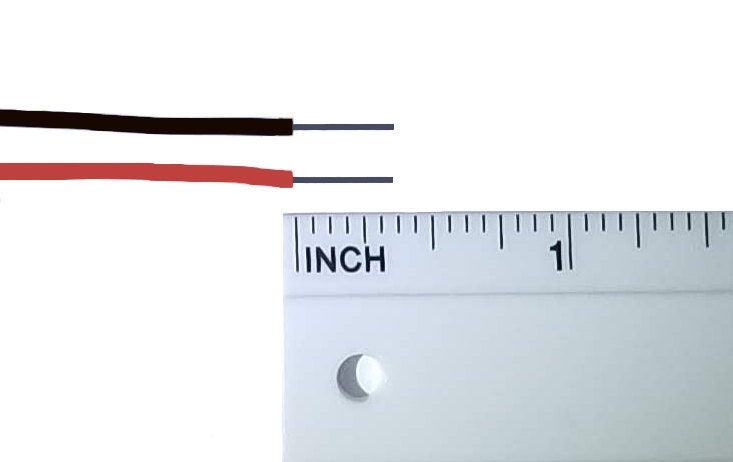
2. After you cut wires you will need to strip about 3/8" of the plastic coating off of the wire, while taking care not to cut or score the metal wire itself. Even though some of the LED's have a small stripped piece of wire exposed from the factory, this is not enough to make a good connection. You still need to strip about 3/8" of that plastic red or black coating off the wires.
after you have cut the assembly and wires for your custom assembly, the next step is to connect the wires. Again, red to red, black to black, stripped ~3/8" twist the metal wires together with your fingers to make a good mechanical connection. Then place a wire nut over the twisted wires and twist the wire nut in a clockwise rotation until you feel the wire nut catch the wire and tighten down. Make sure there is a good mechanical connection between the twisted pair of wires and the wire nut. If the wire nut falls off with little effort then try again. There should be a solid mechanical connection. You can add some electrical tape to this connection if you want to ensure it does not come apart. We would recommend this if the final assembly is going into clothing or a costume. Start by wrapping the tape around the wires just below the wire nut, then wrapping up around the wire nut. The adds one more level to help ensure the wire nut will not fall off the twisted pair of wires.
4. If you are going to connect multiple LED's to the same battery and switch, you will follow all the steps above to prepare the wires. Then you will simply twist together all the red wires and add the wire nut, and all the black wires and add the wire nut. This could be as many as 6 wires twisted together per wire nut. We would highly recommend using some electrical tape to help ensure the wire nut does not fall off. Follow the instructions in step 3 to add tape to the wire nut.